Step up an Revenue Cat Account
-
Create an account in Revenue Cat
-
Create a project in revenue cat
-
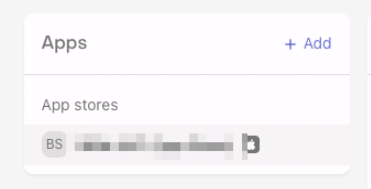
Inside of the project, create ios/android application with desired name and
-
Click the application and start to setup inapp purchases in your mobile app
InApp Purchase Easy Mode (iOS)
iOS: Revenue Cat Setting
Relative to android, iOS is much more straight forward and simple. Let's go through the following one by one:
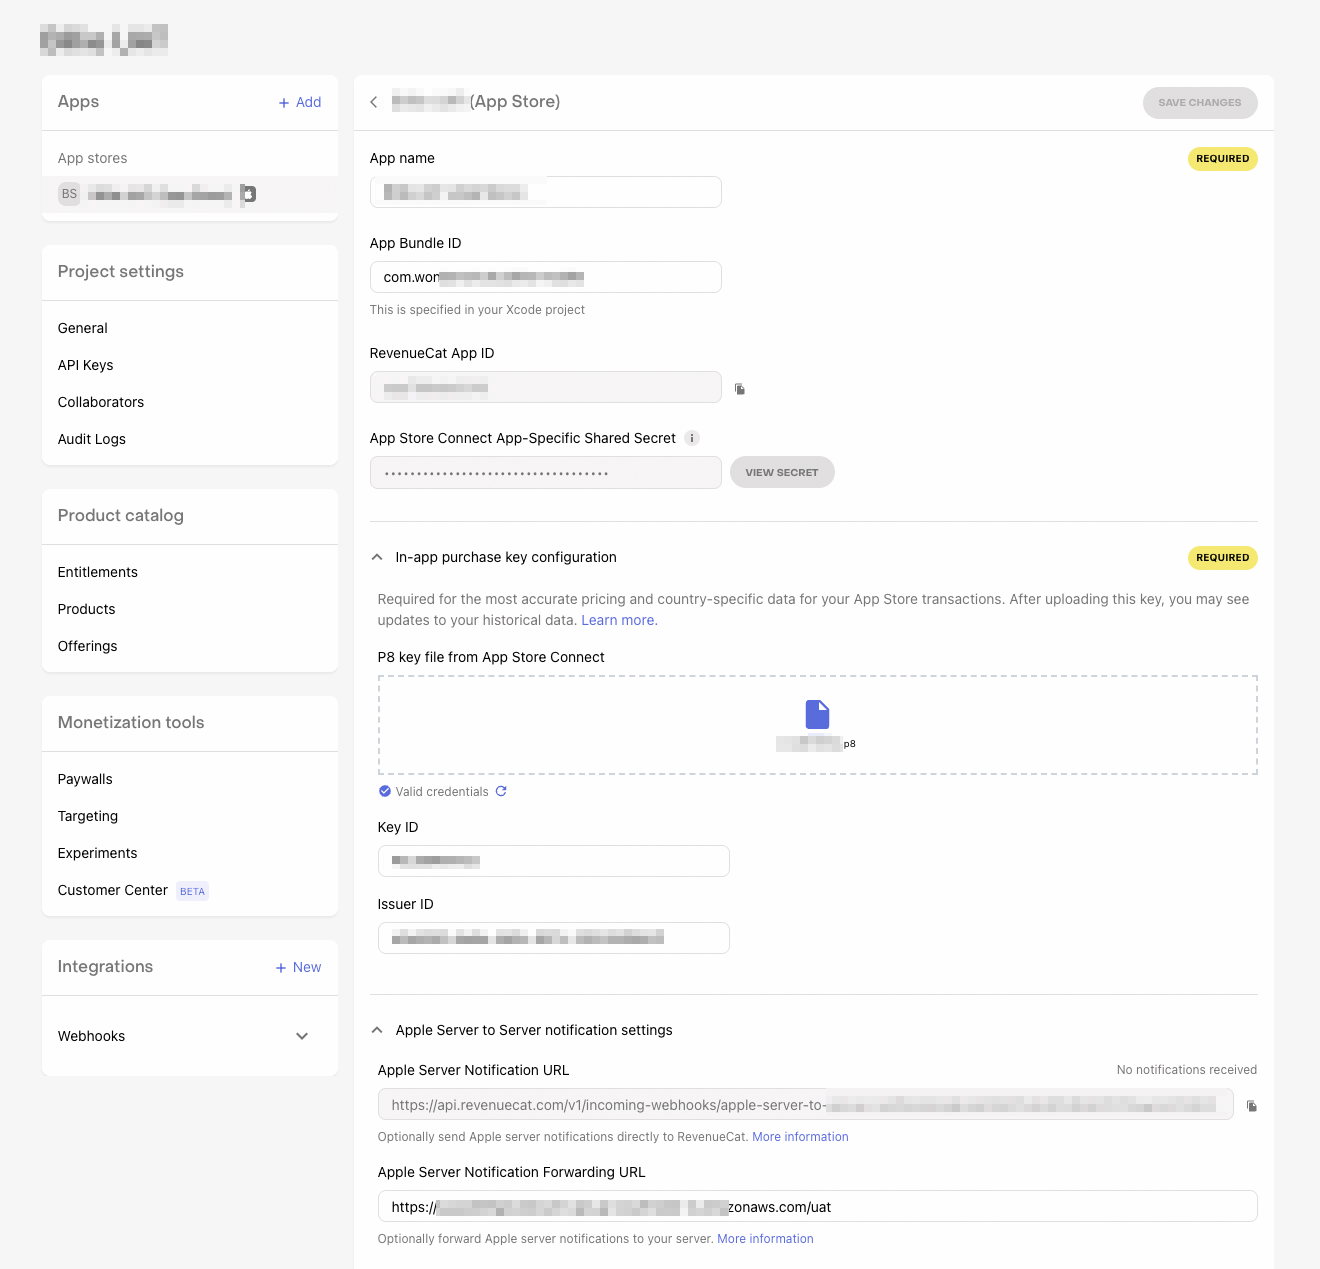
App Store Connect App-Specific Shared Secret
Refer to Official Documentation
In-app purchase key configuration
Refer to Official Documentation
Apple and Apple Store Connect API
Refer to Official Documentation
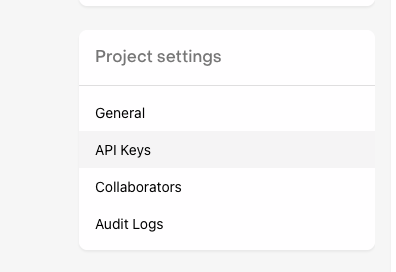
Get the Public ApiKey
Click save changes, an ApiKey can be obtained from
With this key we can fetch all our products and subscription list once configuration in app store connect is done.
iOS: App Store Connect Setting
Go to Susbcription Page and Mange Subscription Group
Click on Subscriptions:
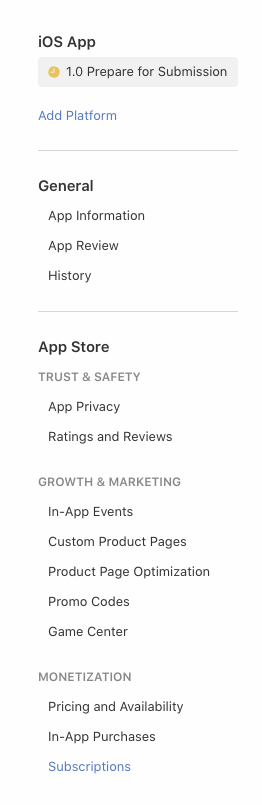
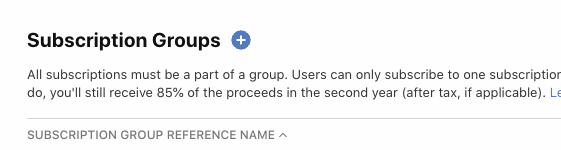
Click on Subscription Groups and create a group (of subscriptions):
Create Subscription Plans
Inside of the subscription group manage all your plans (weekly, monthly, yearly, etc). A user will be able to subscribe only one of them at one period:
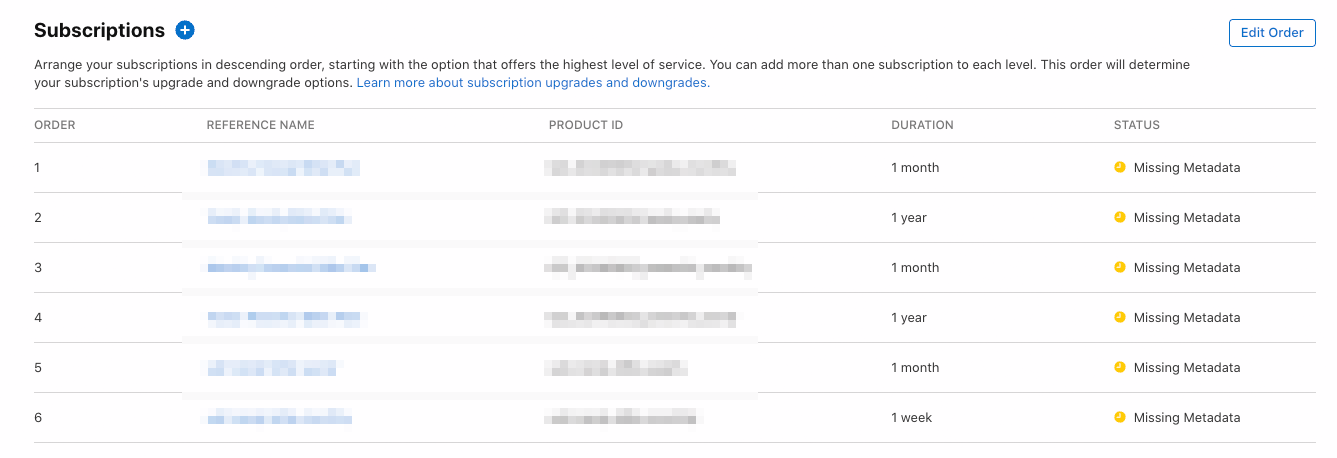
Order Subscription Plans for Upgrade and Downgrade
Note that subscription plans have a notion of "upgrade" and "downgrade", be sure to read this instruction:

- Superior plan should be placed on top of inferior plans.
- In this way apple knows how to organize payment (upgrade should pay immediately with cost calculated with proration, and downgrade should be scheduled at the end of billing period).
Return to Revenue Cat to Manage the Subscriptions
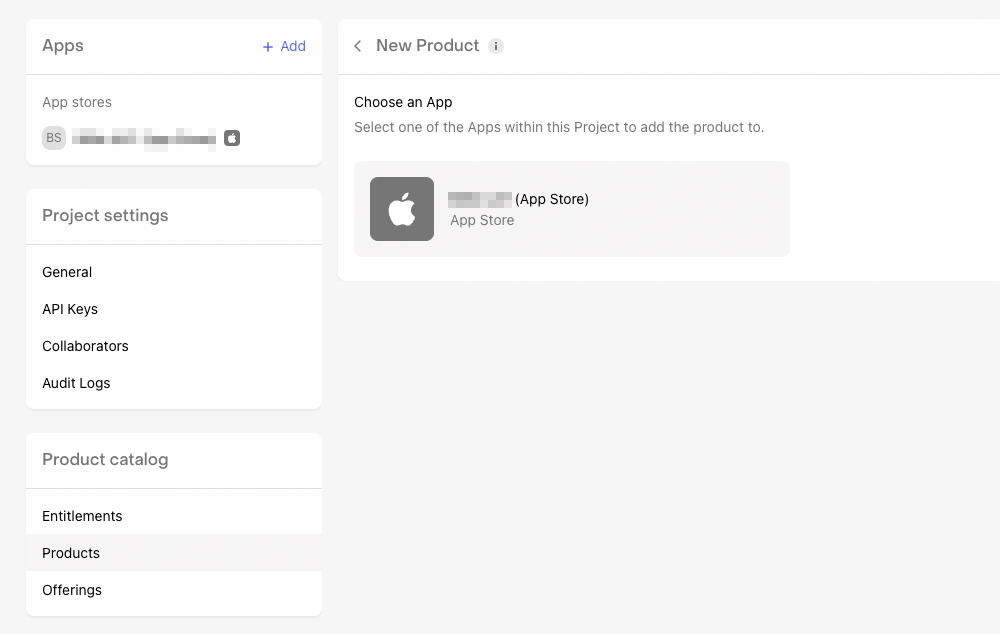
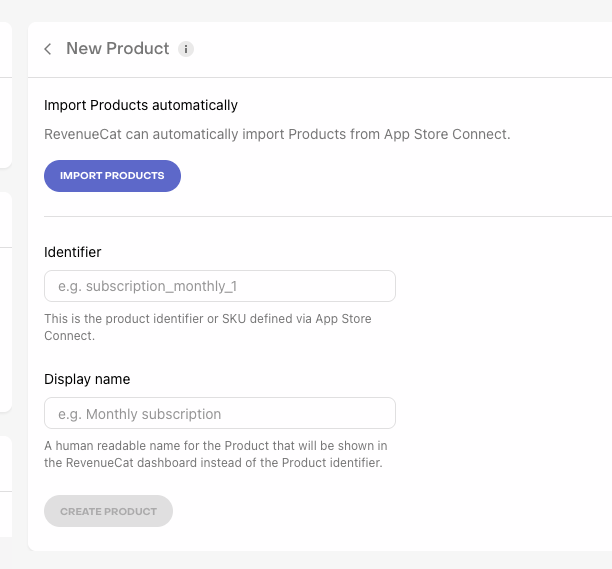
After the subscription list is all set, go back to revenue cat and import the product list:
Offerings: the Logical Group of Subscriptions (Subset of a Subscription Group in App Store Connect)
Let's go to offerings and create a group of subscriptions that users can purchase (only one subscription can be active at a period)
An offering usually looks:
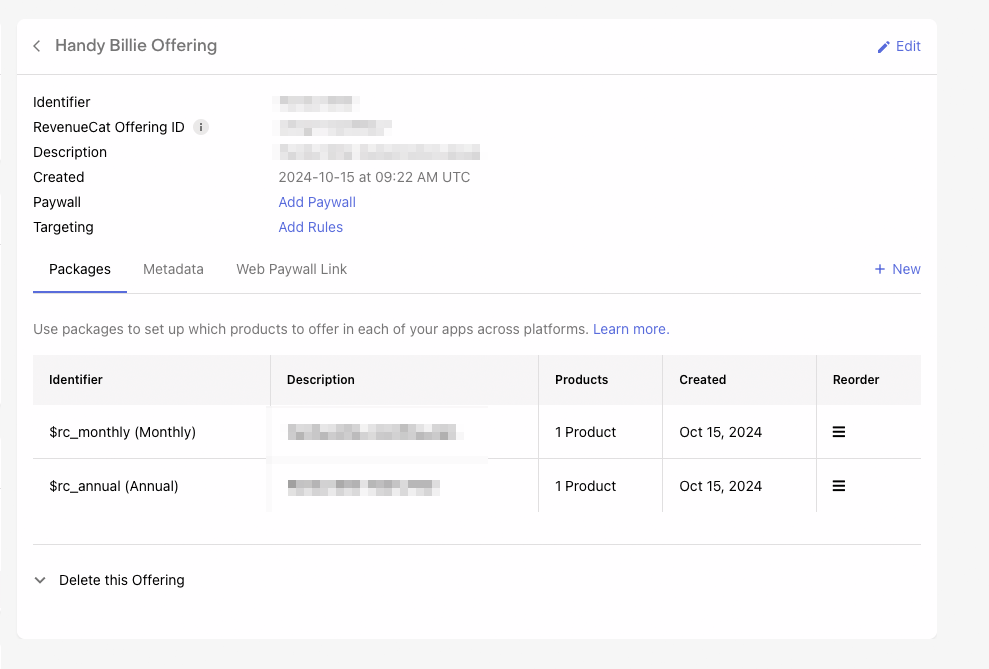
Users can choose which plan they want.
-
In short, "offerings" is a logical group of available choices of which you can only choose one.
-
And for sure they must be inside of the same subscription group in app store connect.
NPM Package to get all the Subscriptions
Now attach the APIKEY in your app and you are set to fetch the subscriptions! Since we are using react-native, we will be discussing how to get the list via revenue-cat's react-native-purchases-ui
InApp Purchase Hard Mode (Android)
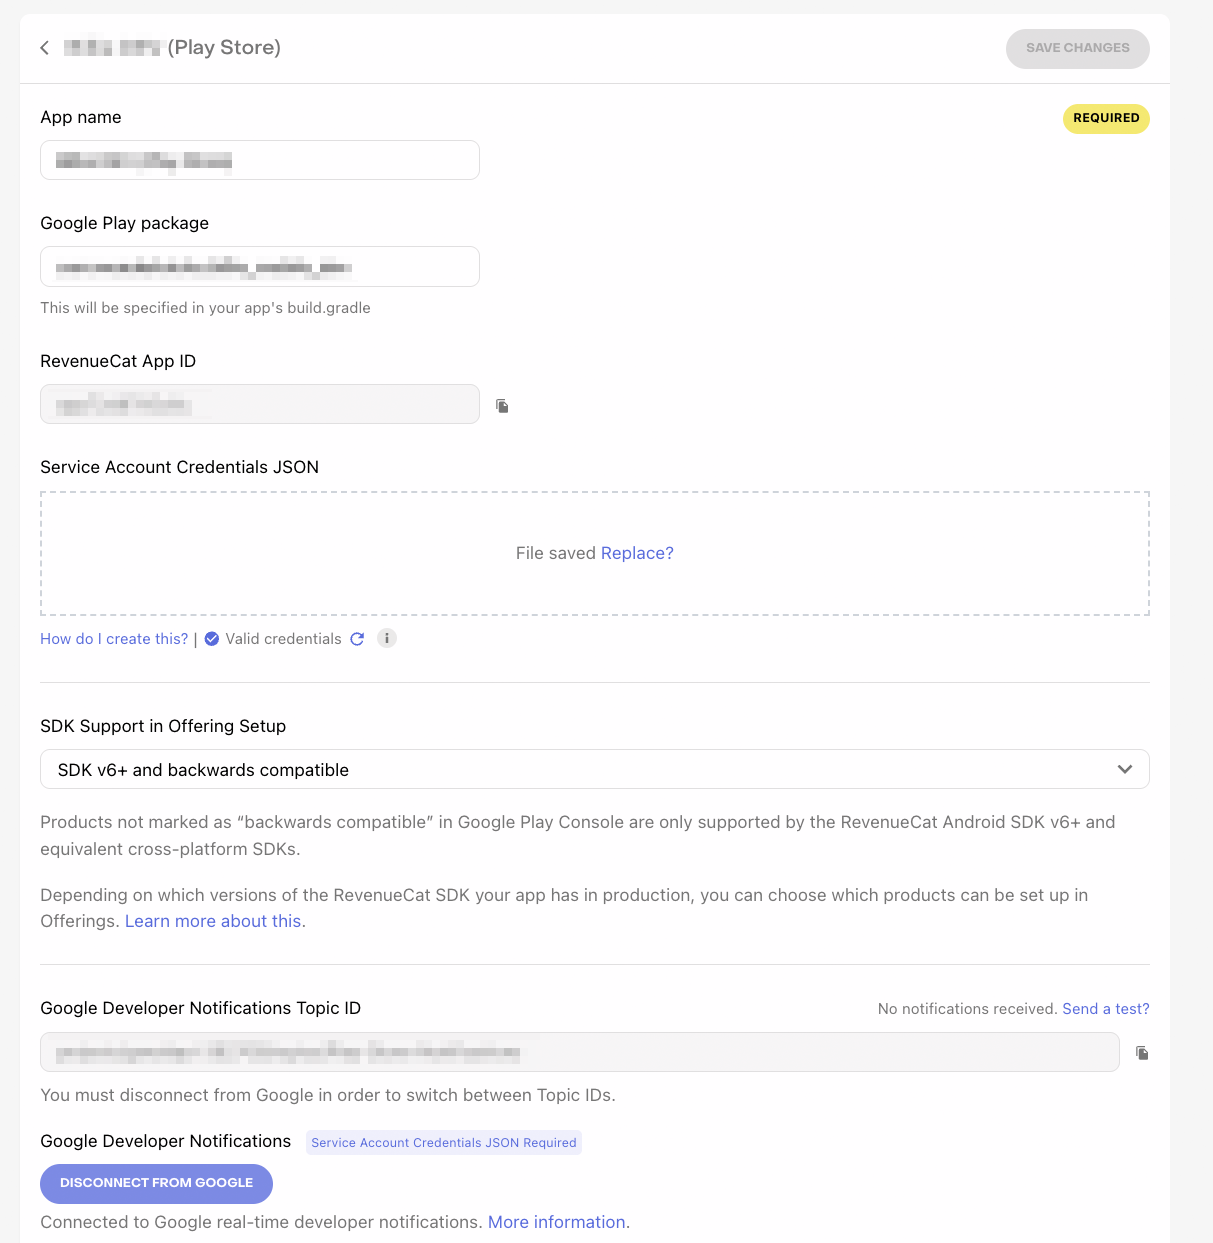
Android: Revenue Cat Setting
Play console will be another long story.
Compared to app store connect, we just need to provide one credentials JSON of your service account (explain later). But getting this JSON and getting the mobile build to fetch data successfully will be a bit harder.
Android: Google Play Console
Bounce Between Google Cloud Platform, Revenue Cat and Google Play Console
First we need to strictly follow this official documentation, this will include:
-
1. Enable the Google Developer and Reporting API (GCP)
-
2. Create a Service Account (GCP), download the credential json of this account
-
3. Grant this service account (Play Console) the permissions
-
4. Paste the credential into revenue cat
-
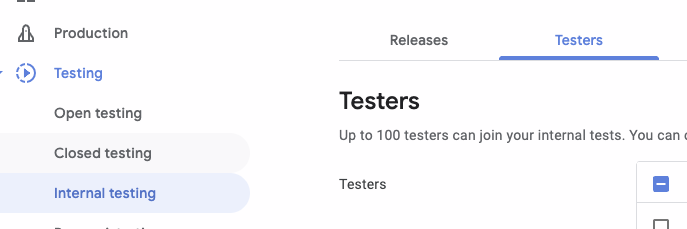
5. Upload signed .aab file in both this page:
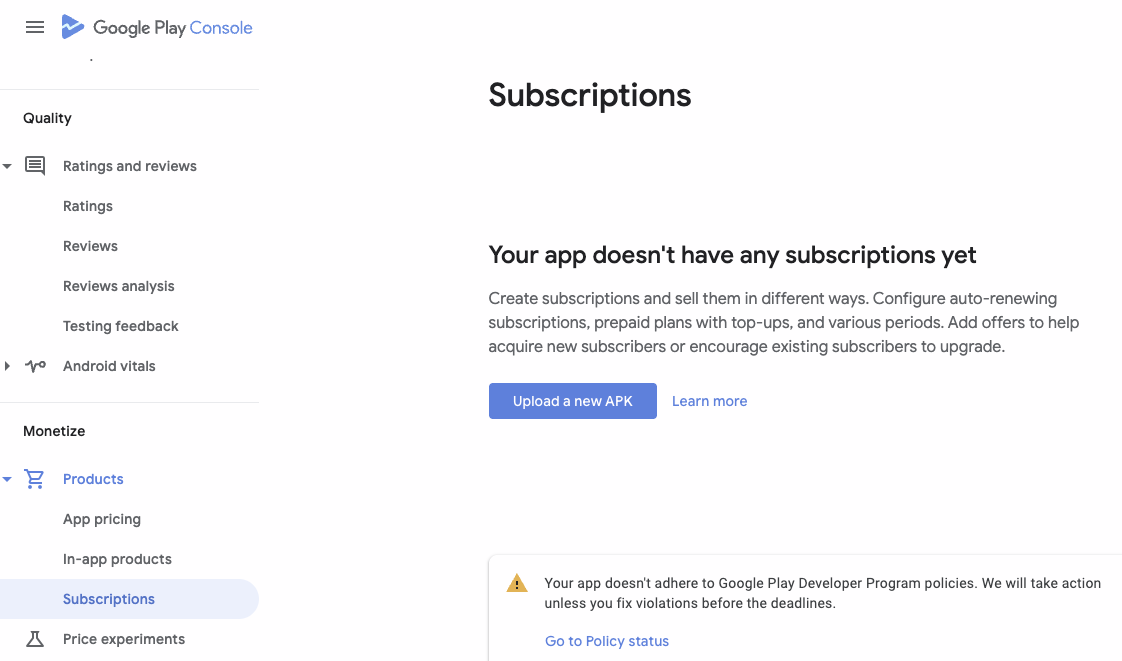
where you will be redirected to Closed Testing. Note that the offical docoumentation is out-dated, you are not able to upload apk.
If you have uploaded an
.aabfile before, you can simply chooseadd from library: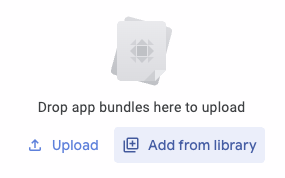
-
6. Update the tester list:
-
7. Release the internal test, non-dev tester can only test your inapp-purchase via this internal test build. Upon successful submission (no review needed), you will be given an URL. Share it to android testers, they will be redirected to a hidden page in playstore to download the app.
Expo Evil Detail for Android Development Build
-
Our local development build must also be signed with the same
app-signing-keyused in the.abbwe just uploaded/selected. Therefore it is beneficial to us to store theapp-signing-keylocally. -
In
eas.json, setbuild.dev.android.credentialsSource = "local". -
expo rundoes not allow--profile, but it readsdevelopment/devprofile automatically ineas.jsonRemark.
expo rundoes readeas.json(not just by eas-build in the cloud) -
Development build cannot be in debug mode, set
{ "gradleCommand": ":app:assembleRelease" }in
devprofile ofeas.jsonRemark 1. Otherwise (in debug mode) we get ErrorCode: ITEM_UNAVAILABLE (reference from flutter developer)
Remark 2. Hot-reload is still available, we can keep developing in
releasemode
React-Native Part
Get all Packages
const fetchPackages = async () => { try { dispatch(appSlice.actions.setLoading({ open: true, showOverlay: true })) const offerings = await Purchases.getOfferings() if (offerings.current !== null && offerings.current.availablePackages.length !== 0) { setAvailablePackages(offerings.current.availablePackages) console.log("offerings.current.availablePackages.length", offerings.current.availablePackages.length) } } catch (err) { console.log(err) } }
Get a Monthly Plan
const monthlyHandyPackage = packages.find((package_) => { const productIdentifier = package_.productIdentifier const isHandyBillie = isHandyRegex.test(productIdentifier) const isMonthly = package_.rawPackage.packageType === "MONTHLY" return isHandyBillie && isMonthly })
Get a Annual Plan
const yearlyHandyPackage = packages.find((package_) => { const productIdentifier = package_.productIdentifier const isHandyBillie = isHandyRegex.test(productIdentifier) const isYearly = package_.rawPackage.packageType === "ANNUAL" return isHandyBillie && isYearly })
Subscribe a Plan
const subscribeItem = async (package: PurchasesPackage, period: Period) => { if (package && period) { dispatch(appSlice.actions.setLoading({ open: true, showOverlay: true })) try { const { customerInfo } = await Purchases.purchasePackage(package) const { originalAppUserId } = customerInfo const platform = (() => { if (Platform.OS === "ios") { return MobilePlatform.IOS } else if (Platform.OS === "android") { return MobilePlatform.ANDROID } else { throw new Error("Only ios and android platform are supported.") } })() // keep a record in our own backend dispatch(SeatThunkAction.paymentSucceeded({ period, platform, originalAppUserId })) } catch (err) { console.log(err) } finally { dispatch(appSlice.actions.setLoading({ open: false })) } } }
Potential Issue: This version of the application is not configured for billing through Google Play
We can troubleshoot this problem by elimiating all possibilities listed in this answer (stackoverflow)