S3
-
Created a new bucket named
wbbucket-dev-frontend. -
In frontend project we run
aws s3 sync --delete ./build/ s3://wbbucket-dev-frontendto sync our files in build folder to s3-bucket.
-
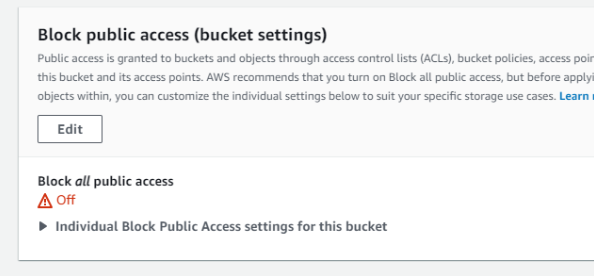
In Permission tab:
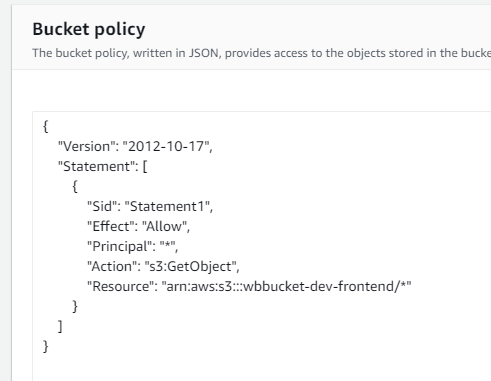
Here
{ "Version": "2012-10-17", "Statement": [ { "Sid": "Statement1", "Effect": "Allow", "Principal": "*", "Action": "s3:GetObject", "Resource": "arn:aws:s3:::wb-admin-frontend/*" } ] } -
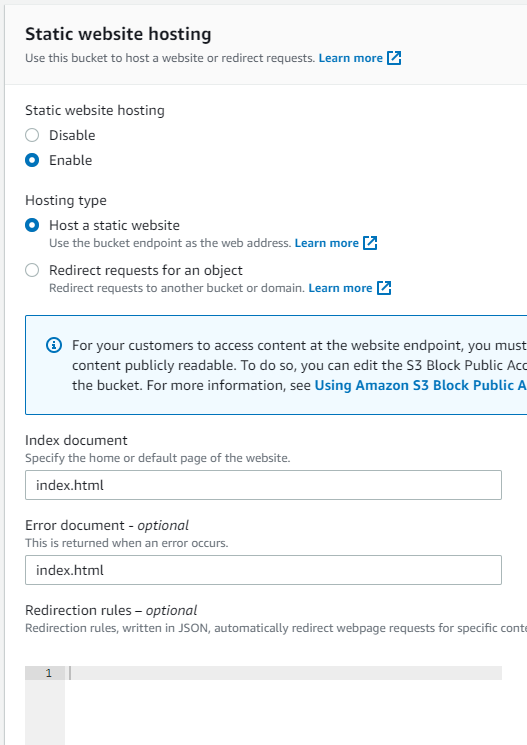
In Properties tab, we scroll to the bottom, click Edit,
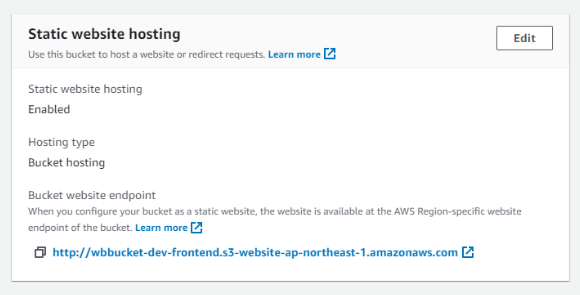
then choose
CloudFront
-
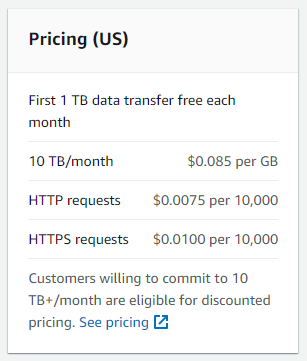
Pricing:
-
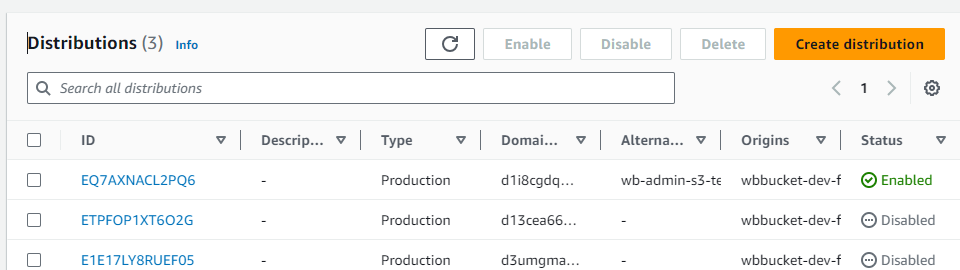
Click Create distribution:
-
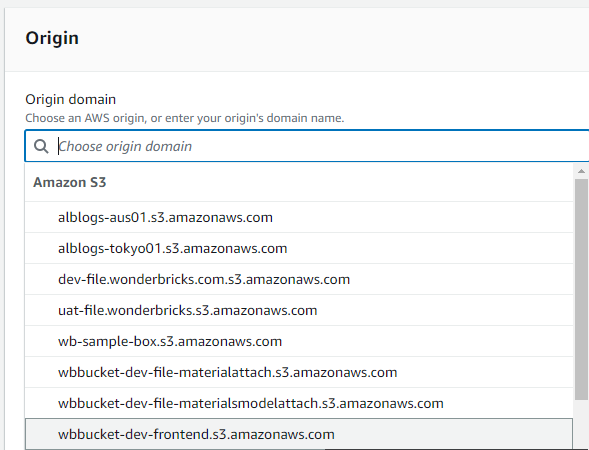
S3-buckets by default are among the choices for Origin domain:
-
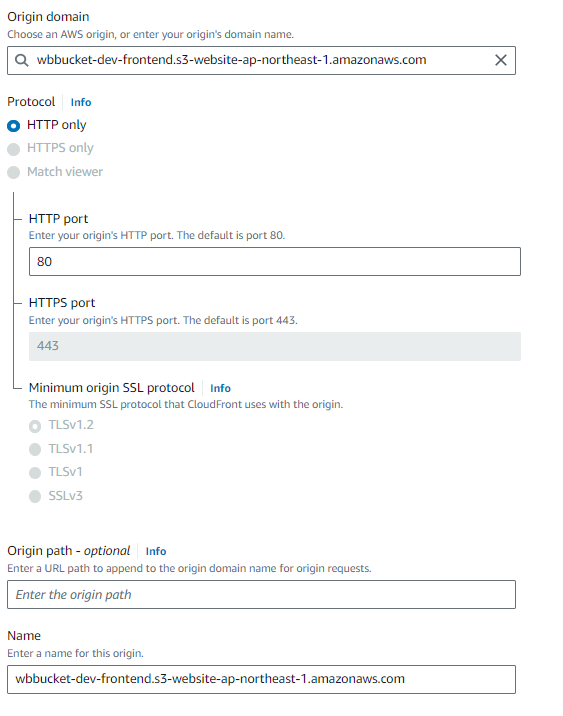
Once S3-bucket is chosen, aws fills the following:
-
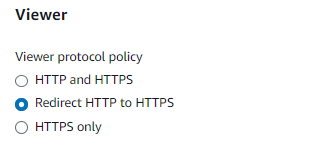
Check Redirect HTTP to HTTPS
-
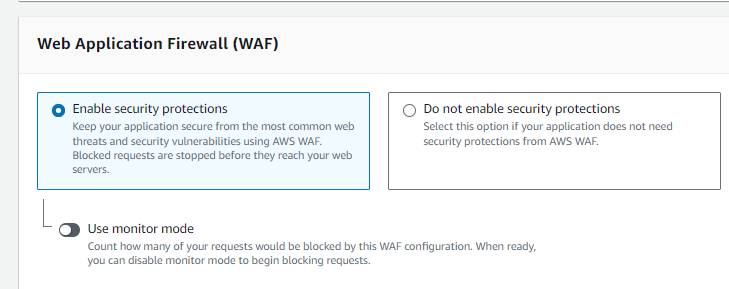
Enable firewall, note that this we charge for AWF service, if you are certain your react page has almost no backend behind the scene, we can choose not to enable security protections.
-
-
Prepare a domain or subdomain in route53
-
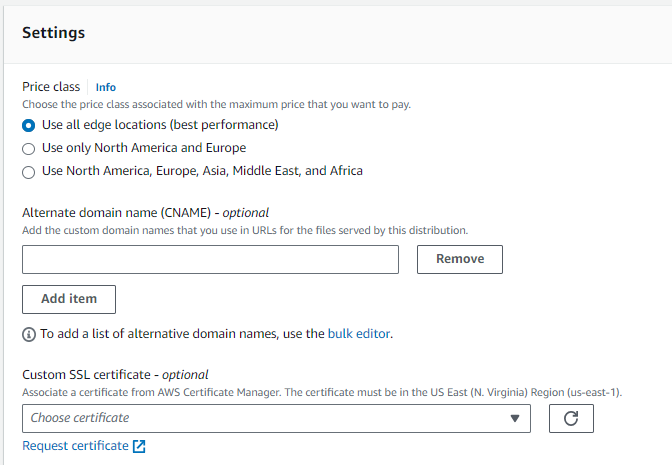
Fill in alternate domain name and
-
Choose SSL certificate.
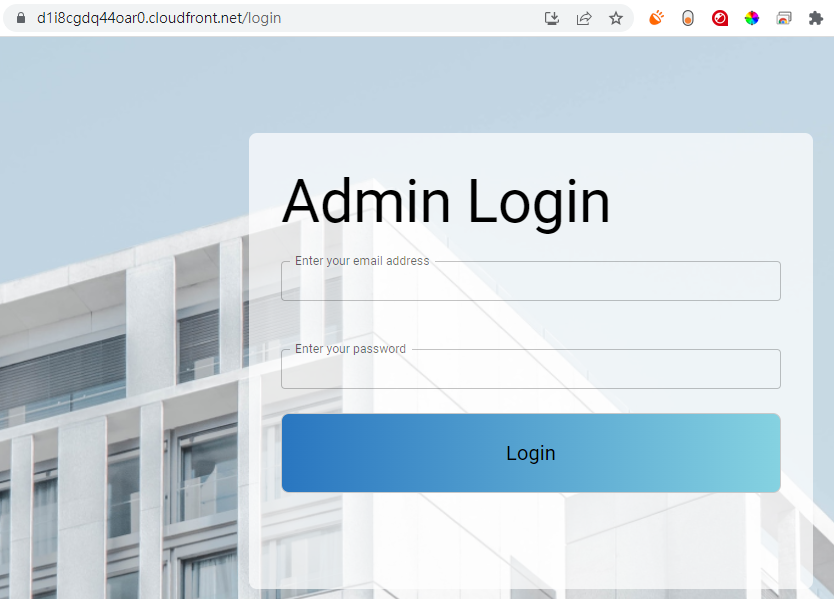
For example, I test the s3-deployment by using:
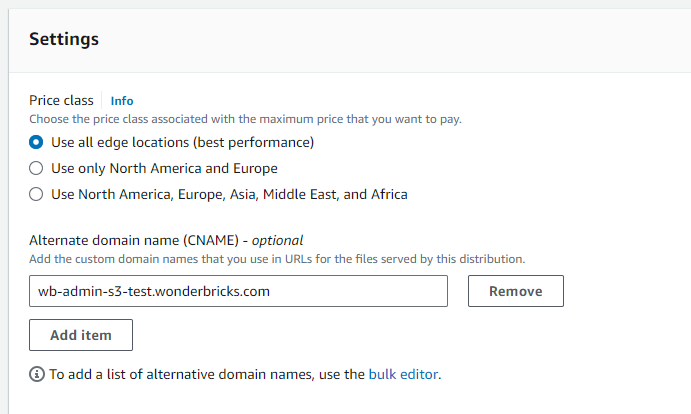
-
-
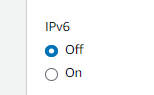
Turn IPv6 Off
Route53 to CloudFront
-
Once CloudFront was set up, we have the following "alias"
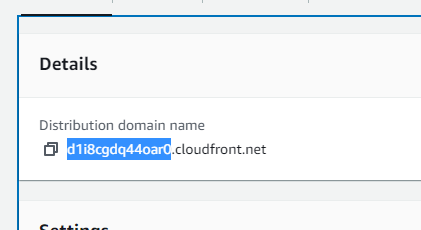
we will need the high-lighted id in configuring records in route53.
Our website is already up and running:
-
Go to route53, choose hosted zone, and edit our prepared record.
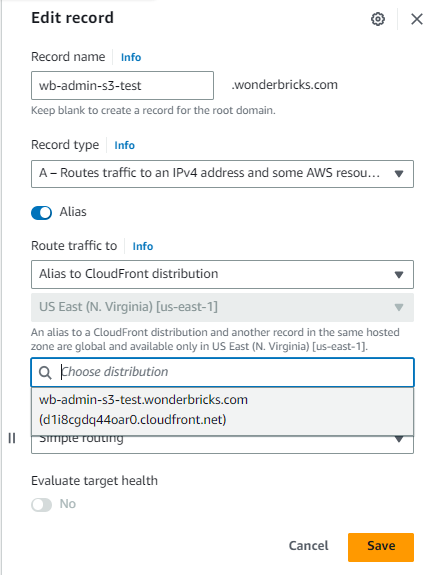
choose the domain prepared by CloudFront.
Cache Removal
-
After first deployment succeeds, we will fail to see new changes due to caching. The removal of cache is called
invalidationin aws-cli. -
We list all distributions by
aws cloudfront list-distributions > ./list.json, we check the target id to remove cache:{ "DistributionList": { "Items": [ {... }, {... }, { "Id": "EQ7AXNACL2PQ6", "ARN": "arn:aws:cloudfront::798404461798:distribution/EQ7AXNACL2PQ6", "Status": "Deployed", "LastModifiedTime": "2023-07-06T06:29:17.206000+00:00", "DomainName": "d1i8cgdq44oar0.cloudfront.net", "Aliases": { "Quantity": 1, "Items": [ "wb-admin-s3-test.wonderbricks.com" ] }, "Origins": { "Quantity": 1, "Items": [ ... }By looking at the attribute we are sure
EQ7AXNACL2PQ6is our target id. -
aws cloudfront create-invalidation --distribution-id EQ7AXNACL2PQ6 --paths "/*" -
In frontend the complete deployment script becomes:
"scripts": { "build:uat": "env-cmd -f .env.uat react-app-rewired build", "invalidation:uat": "aws cloudfront create-invalidation --distribution-id EQ7AXNACL2PQ6 --paths \"/*\" > ./invalidation.json", "deploy:uat": "yarn build:uat && yarn invalidation:uat && aws s3 sync --delete ./build/ s3://wbbucket-dev-frontend", ... },In
invalidation:uatwill pipe the output into a file to avoid the console prompting user input.