Result
Steps to Monitor Changes in Database
Step 1. Create a Database with Logical Replication
-
Only with logical replica we can configure confluent to listen to our database update.
-
Suppose that we are using AWS RDS service, we need to create a new
parameter groupand change the value ofrds.logical_replicationto1. -
Finally reboot the db instance.
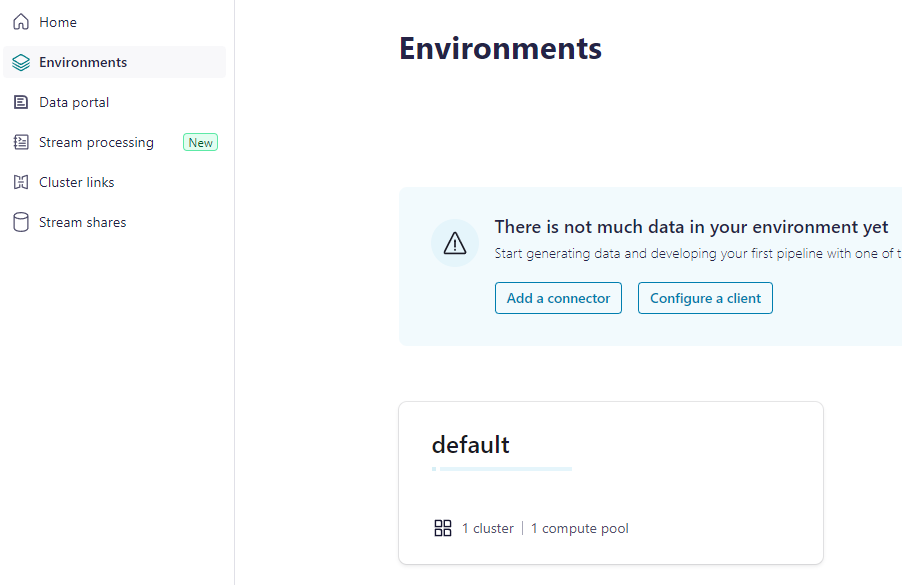
Step 2. Create an Environment and a Cluster
-
Environment:
-
Cluster:

Step 3. Add Connectors inside Cluster
-
Any connector that reads from DB and sends record to Kafka (Debezium) is named by
some source.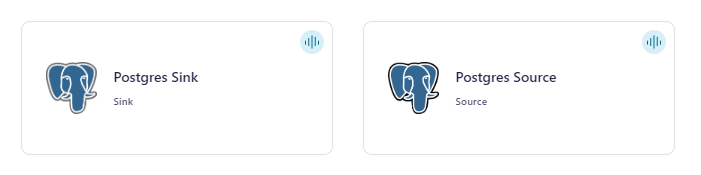
We call them source connector.
-
In case we need to output those record into other storage, we use sink connector.
-
In our case, we just want to listen to the changes inside the database using our backend, a single source connector will do.
Step 4. Choose Correct mode of Connector
-
Note that we are listening to the update from DB, by default a source connector is in
bulkmode (which is to fetch all rows inside a table). -
We need to change it to other mode (like
timestamporincrement) to identify new records: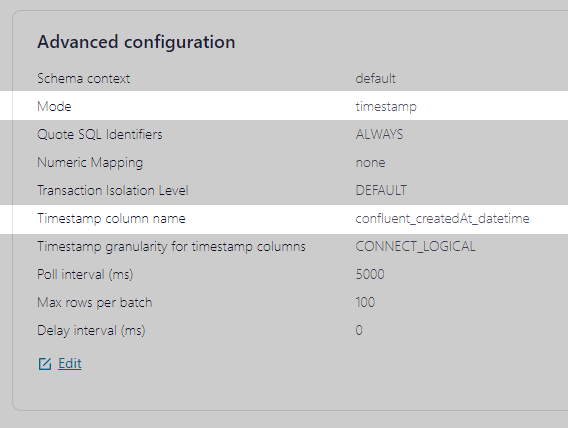
-
Note that to use
timestampmode, our target column must be of typetimestamp. -
Only type integer in our database is available to
incrementmode. By experimentFloat64fails to be assigned asincrement.
Step 5. Configure Consumption Clients Using a Nodejs Backend
At this point there are not much to do with the GUI in confluent, we will be using node-rdkafka in our monitoring backend.
Let's define a dev container demonstrated by the official node-rdkafka documentation:
This blog post provides more detail on dev container. Inside that container we execute the following simple implementation:
const fs = require("fs"); const Kafka = require("node-rdkafka"); const topic = "db_changes_UserToChannel"; function main() { const topicConfig = { "auto.offset.reset": "earliest" }; const consumer = new Kafka.KafkaConsumer({ "group.id": "nodejs-group-1", "security.protocol": "sasl_ssl", "bootstrap.servers": "aaa", "sasl.mechanisms": "PLAIN", "sasl.username": "bbb", "sasl.password": "ccc", "session.timeout.ms": "45000" }, topicConfig); consumer.connect(); consumer .on("ready", () => { // subscribe to the topic and start polling for messages console.log("subscribe topic", topic); consumer.subscribe([topic]); consumer.consume(); }) .on("data", (message) => { // print incoming messages console.log(`Consumed message from topic ${message?.topic}: ${message?.value?.toString()}`); }); } main()
You should have obtained the credentials when you try to create a cluster or configure your consumption client.
Sample messages:
C:\Program Files\nodejs\node.exe .\main.js subscribe topic db_changes_UserToChannel main.js:22 Consumed message from topic db_changes_UserToChannel: {"id":"018e8a48-bdf8-d76d-bdd7-615d1528e274","channelId":"018e8439-19b0-125a-a93c-8c117a6ada7a","userEmail":"test2@wonderbricks.com","joined":false,"createdAt":1.711717006834E12,"createdAtHK":"2024-03-29 20:56:46","confluent_createdAt_datetime":1711717006834} main.js:29 Consumed message from topic db_changes_UserToChannel: {"id":"018e8a4b-e1b4-09c6-da17-50ed74b43ce8","channelId":"018e8439-19b0-125a-a93c-8c117a6ada7a","userEmail":"test4@gmail.com","joined":false,"createdAt":1.711717212594E12,"createdAtHK":"2024-03-29 21:00:12","confluent_createdAt_datetime":1711717212594} main.js:29 Consumed message from topic db_changes_UserToChannel: {"id":"018e8a50-ceeb-569c-5d81-c90cef1777c2","channelId":"018e8439-19b0-125a-a93c-8c117a6ada7a","userEmail":"test5@gmail.com","joined":false,"createdAt":1.711717535465E12,"createdAtHK":"2024-03-29 21:05:35","confluent_createdAt_datetime":1711717535465}
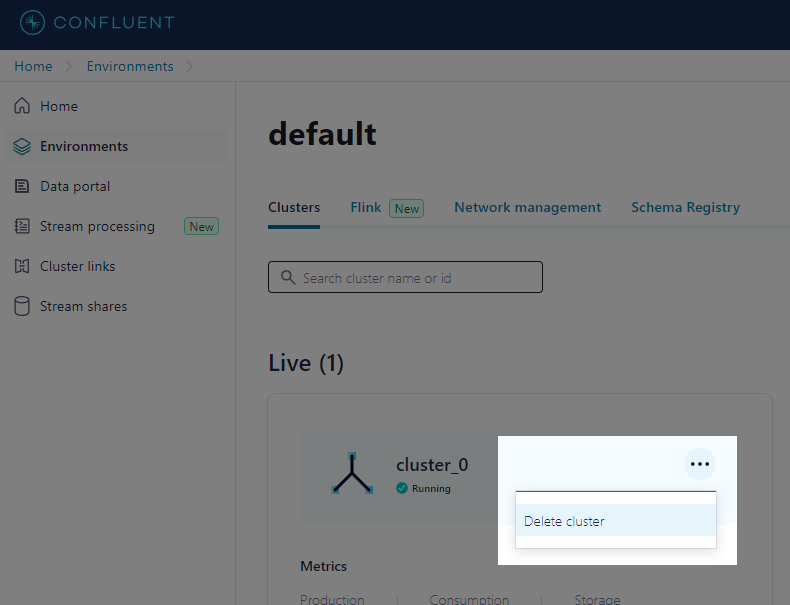
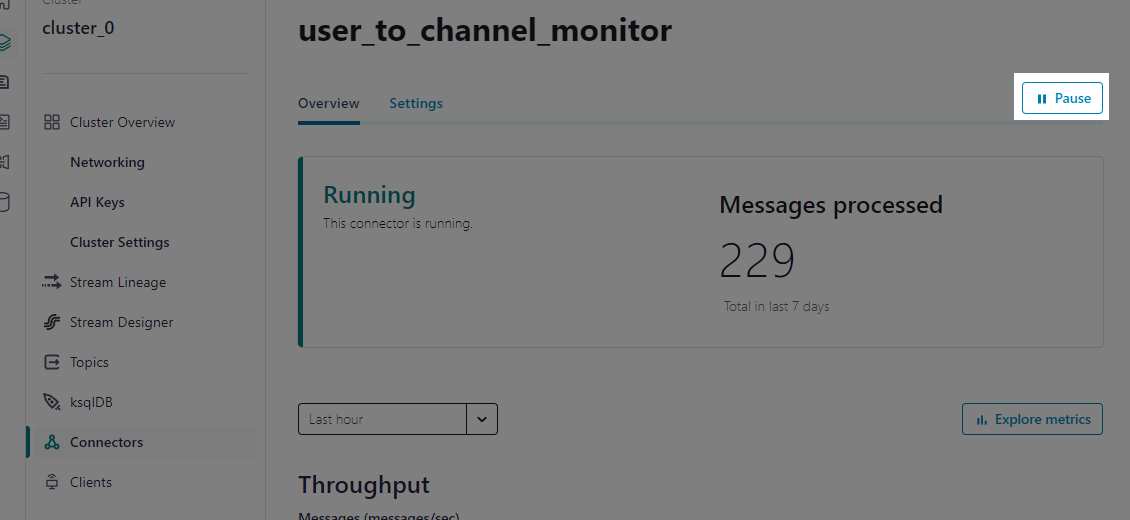
How to Delete a Cluster?
After you have done all the experiments, to delete a cluster you must first pause all of your connectors.
Then you are free to delete the cluster: